
Assembling the frame #
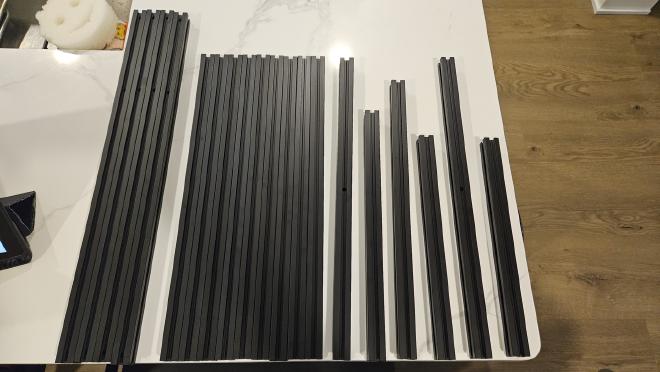
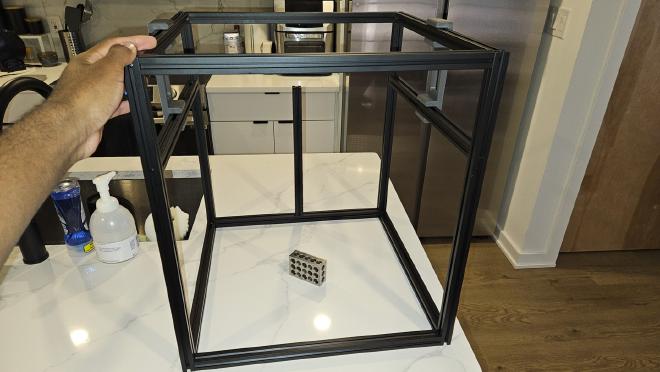
I assembled the frame on my kitchen countertop since the surface is completely flat. Before I started the assembly I laid out all of the extrusions and sorted them based on size. I took some extra time to mark them with the correct letters referenced in the instruction manual.
Some extrusion lengths depend on the bed size of your machine, so if you’re building a Trident with a 300mm or 350mm bed some of the lengths will be different from the manual.
To help with squaring the frame I picked up a pair of machinist 1-2-3 blocks and used some clamps I already had lying around. With the 1-2-3 blocks and the clamps, this part of the build was very straightforward. The Formbot extrusions were also very clean and all of the edges seem to have perfectly square cuts.
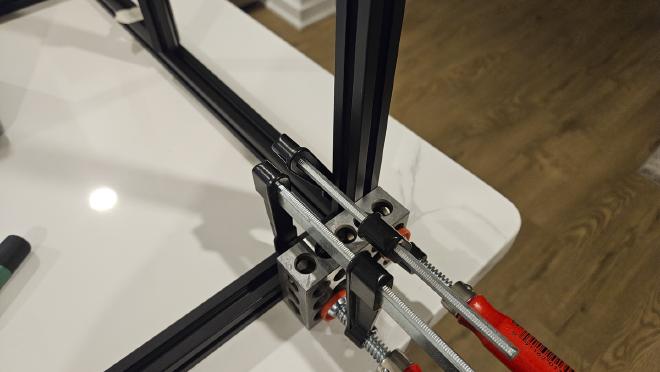
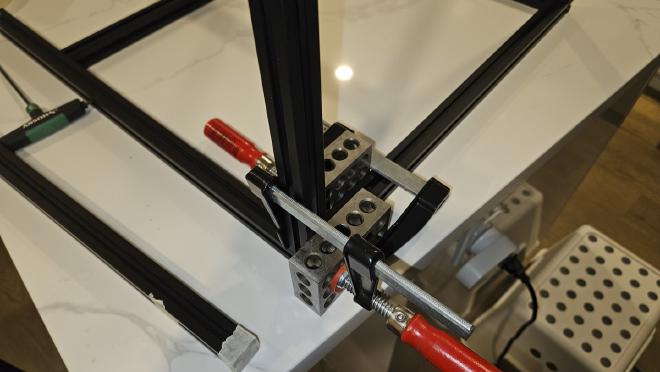
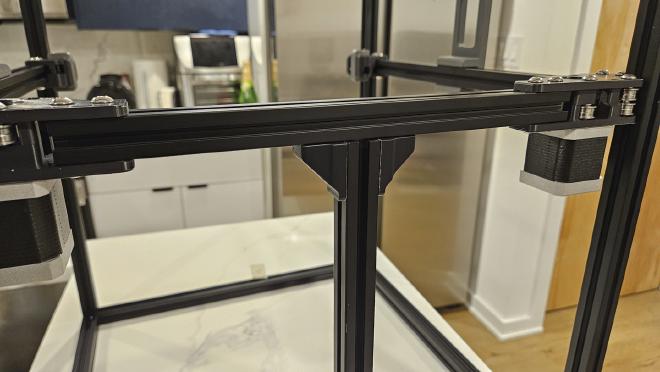
The only problem I had assembling the frame was getting the y-axis extrusions mounted squarely onto the frame with the correct lengths. The CAD files include a spacer to help with this: 110mm_Y_alignment_spacer_x2.stl.
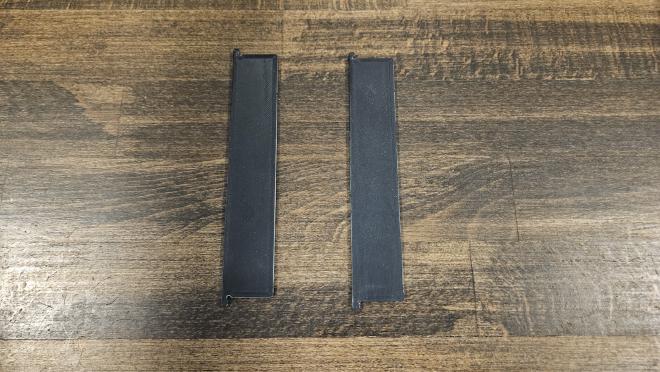
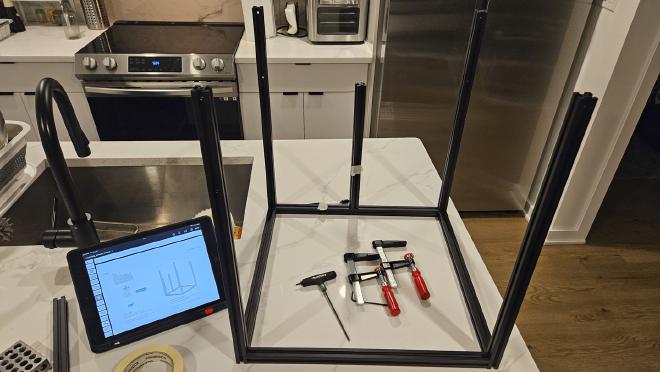
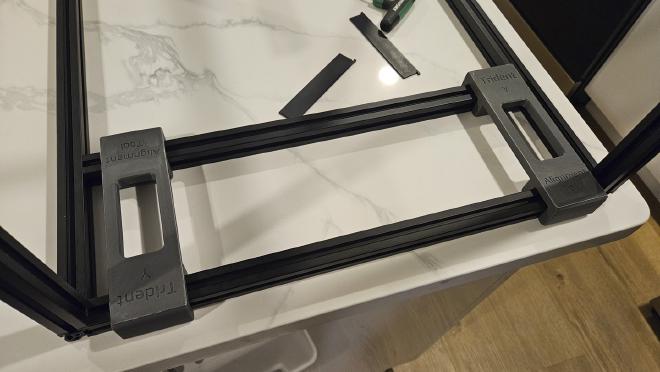
The Voron provided y spacer tool is helpful, but I still found it very difficult to get the y-axis extrusions lined up. This Trident Y Alignment Tool I found on Printables ended up being a lot easier to use.
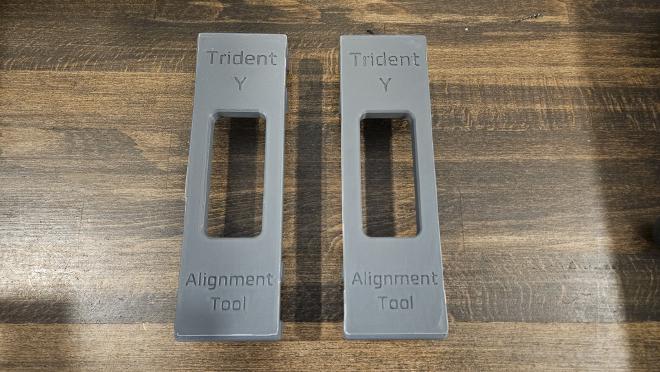
Assuming it’s printed on a dimensionally accurate printer, it’ll ensure that your y-axis extrusions are mounted at the correct length on each side and are parallel to each other.
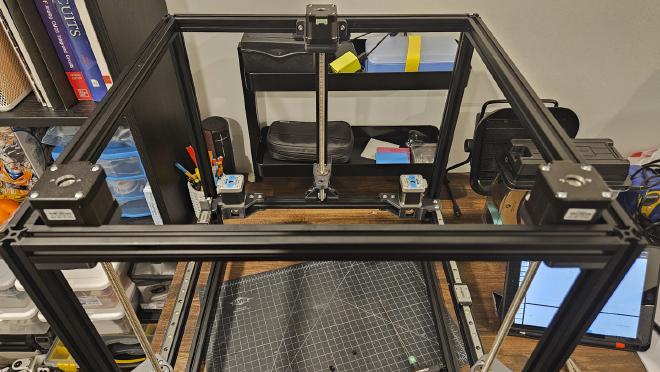
XY Gantry Parts Assembly #
With the frame assembled and checked for squareness, I can now move on to the XY gantry. This part of the build is a lot easier than squaring the frame. I recommend running through the instructions first to get a sense of what you have to do and which components are needed for this next part.
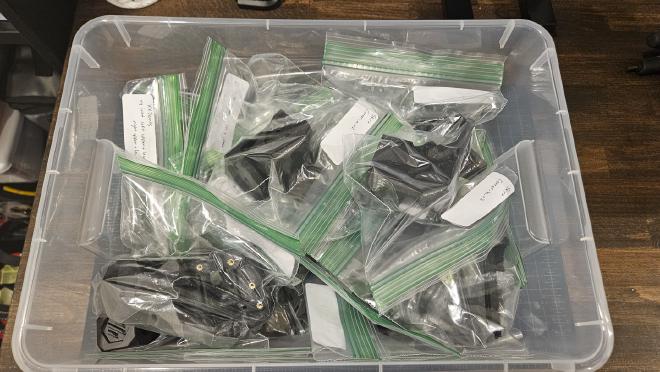
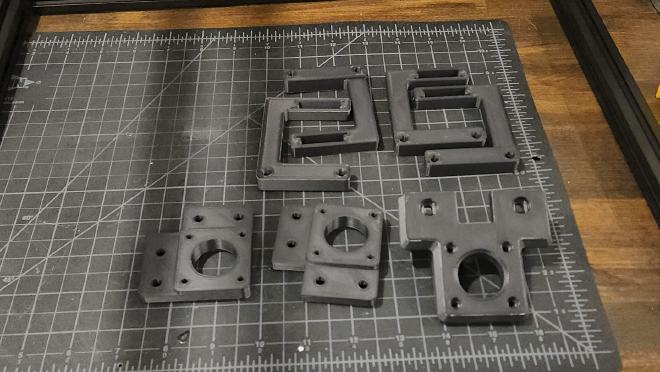
While printing the parts for the Trident I made sure to group the related parts together so I wouldn’t have to search for tiny pieces in a large container.
The assembly here is easy, just take your time and double check your work.
Mounting the first parts to the frame #
Once the printed parts are all assembled it’s time to mount things to the frame. This part of the build is well documented and you can pretty much follow the Trident build guide 1:1.
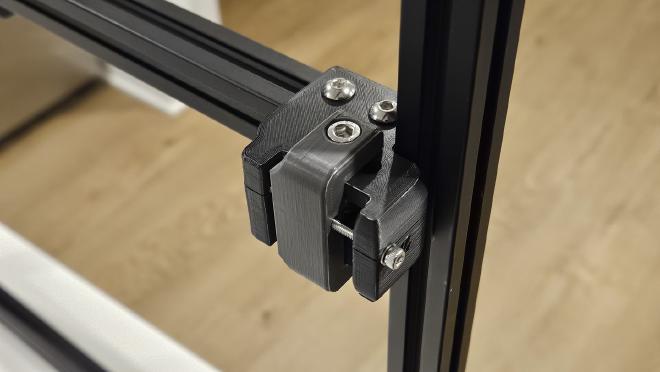

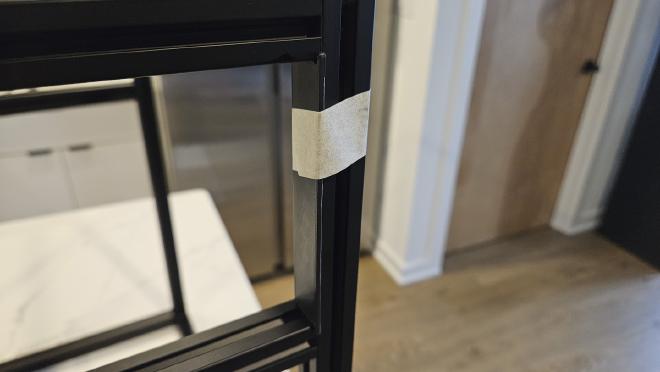
One word of caution: double check the size and orientation of each T-nut before you insert them. I made the frequent mistake of inserting the wrong size T-nuts or just putting them in the wrong orientation.
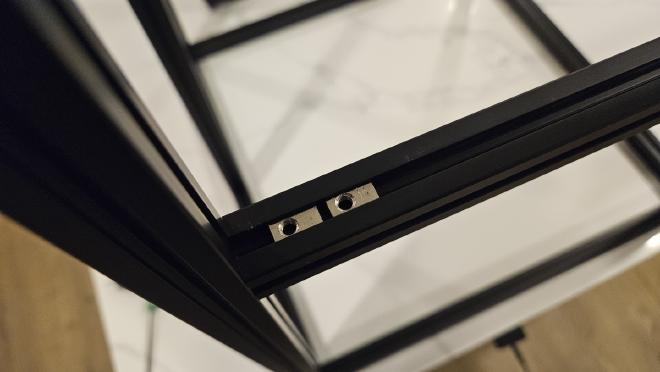
Getting them out is a huge hassle and I ended up scratching my extrusions in the process.
I’ll probably come back after the build is complete and try to cover up some of these scratches with either some paint or a sharpie.
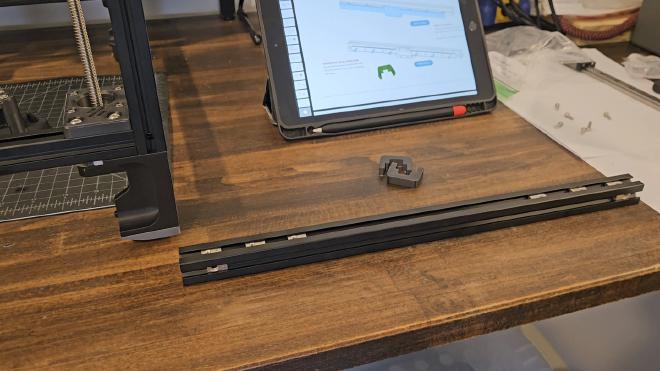
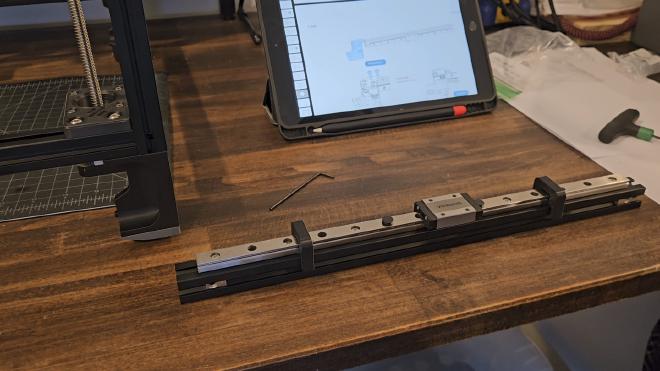
Linear Rail Prep #
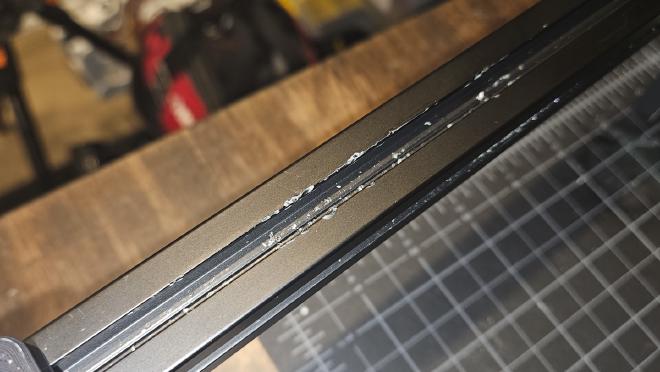
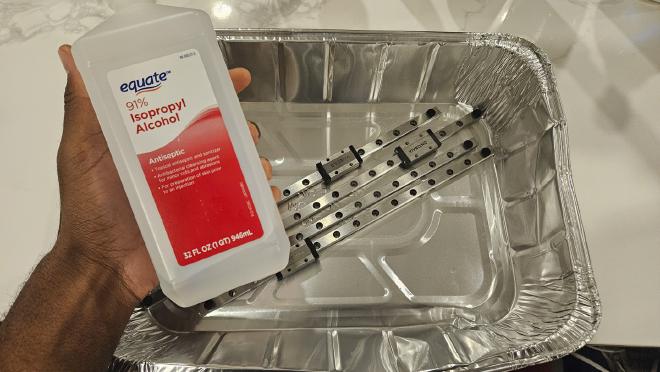
The next step in the build is installing the three Z-motors for the bed. Each of the three Z-carriages ride on linear rails mounted to the frame. But before we can install them though, you need to clean and grease the rails.
To clean them you just need to soak them for 5-10 minutes in some 90% or higher Isopropyl Alcohol. This will strip off all of the shipping oil on the rails.
Once that’s done, you then want to dry them off completely and apply your own grease. For the rails you’ll need some NLGI0 or NLGI1 grease, I ended up using some Mobilux EP2 grease.


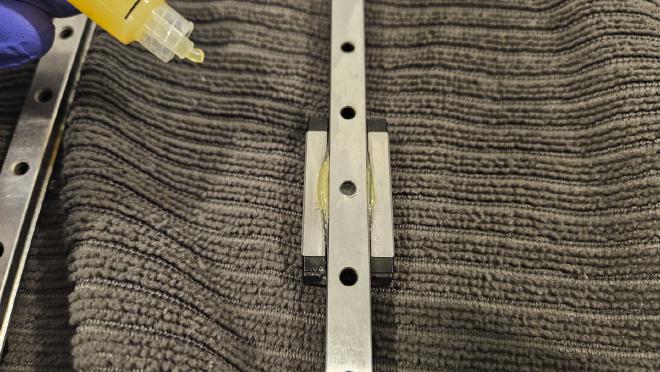
If you want some more info on this I recommend this set of instructions from LDO: https://docs.ldomotors.com/en/guides/rail_grease_guide.
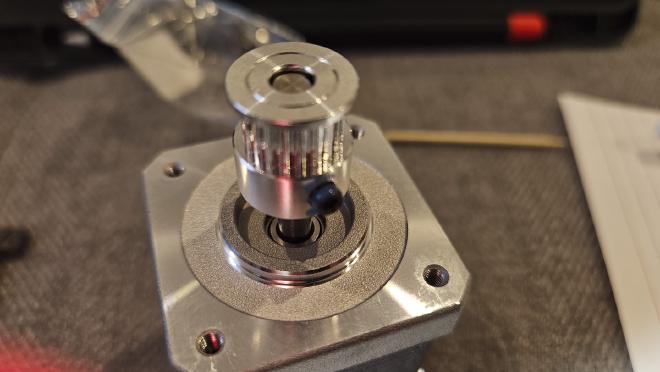
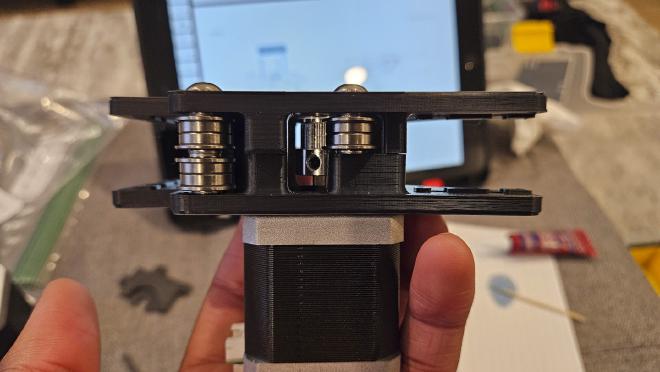
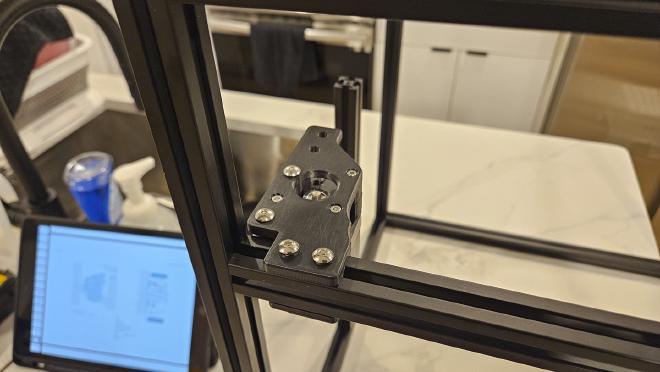
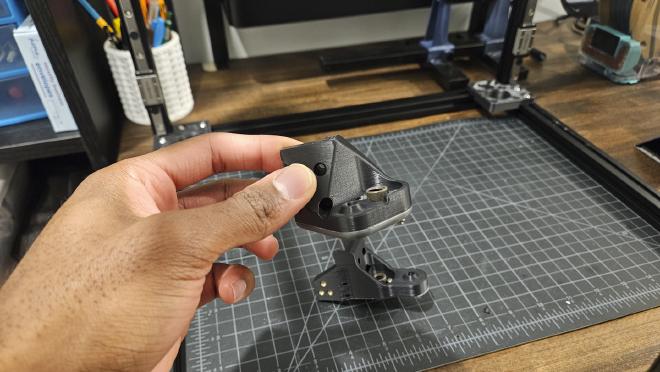
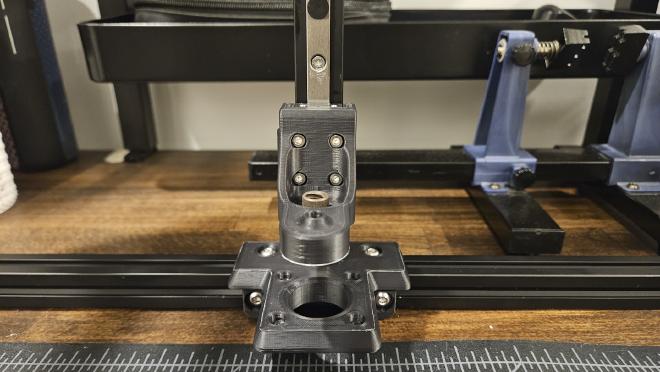
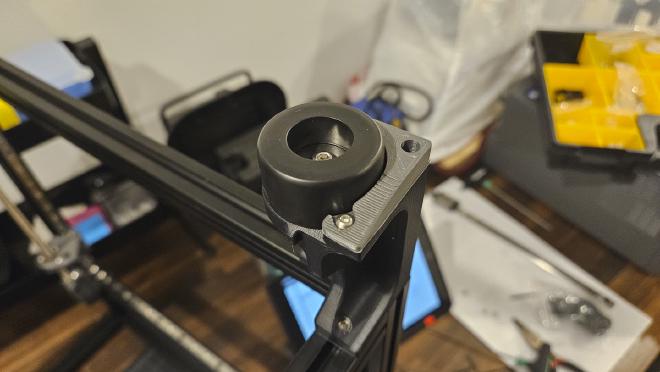
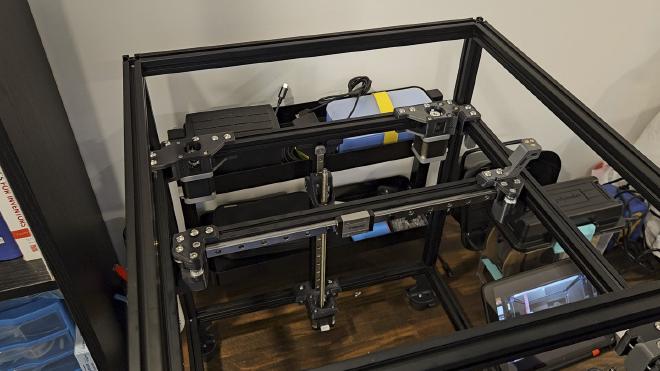
Z-Motor Installation #
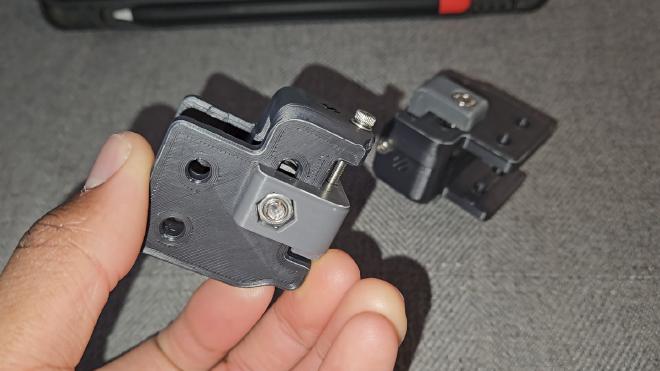
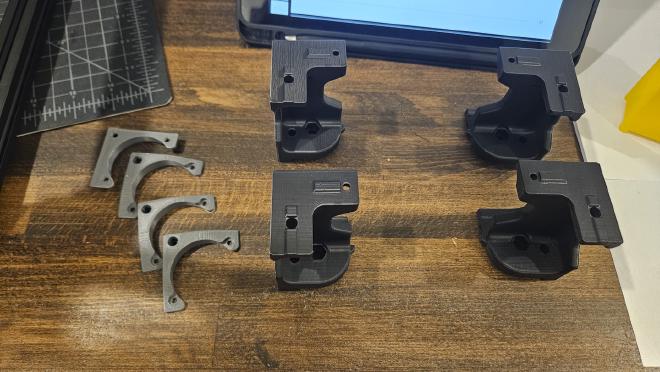
Once the rails are greased, it’s back to following the manual for the installation. The main difference here for me is that I’m going to be doing the Inverted Electronics Mod. This mod allows you to access the electronics without needing to flip the entire printer over.
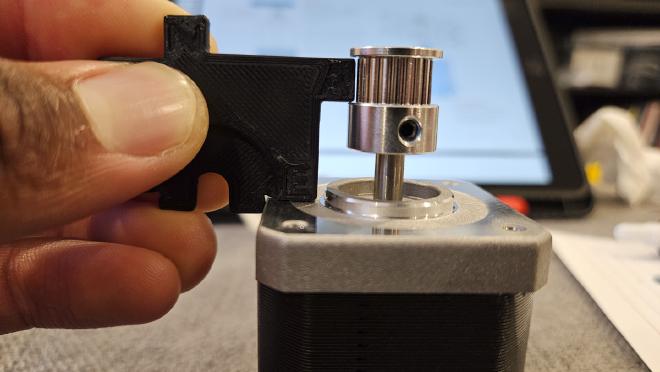
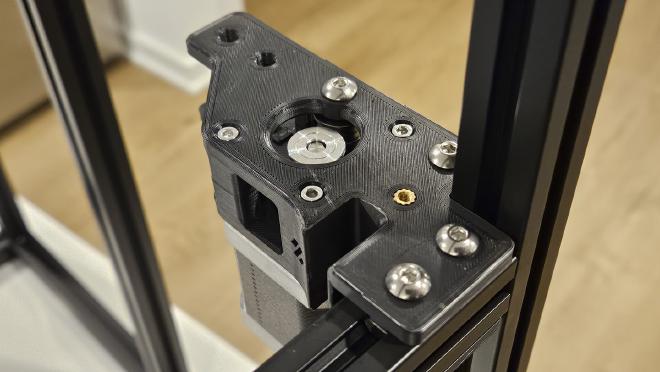
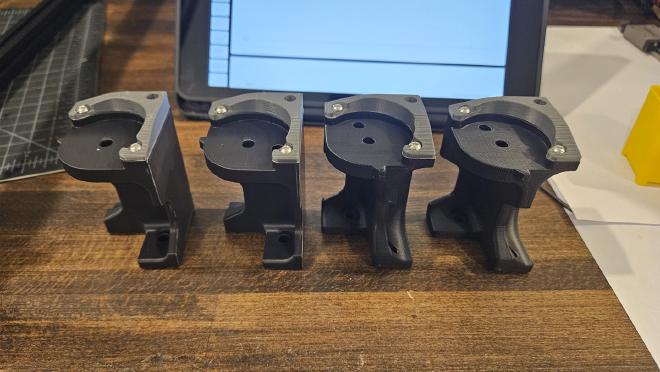
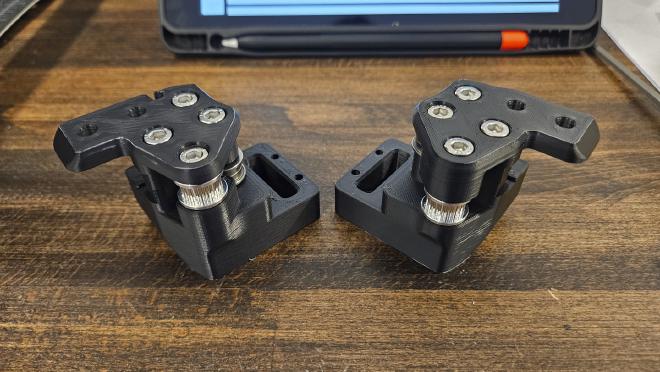
For this mod there’s a separate set of printed parts you’ll need to install for the z-motor mounts.
Everything else uses the standard Trident parts and the installation still follows the manual for now.

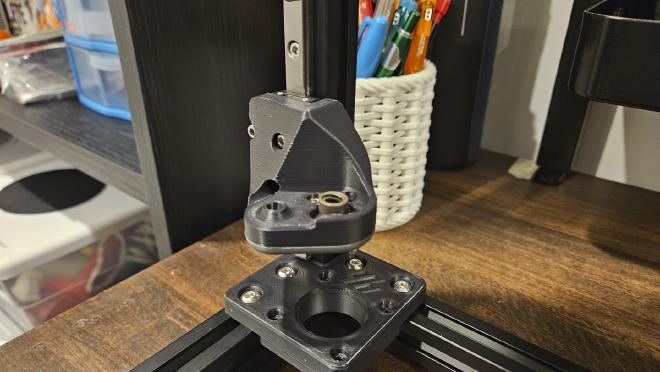
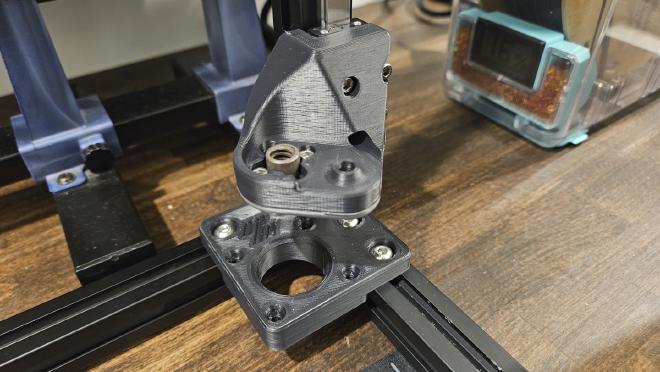
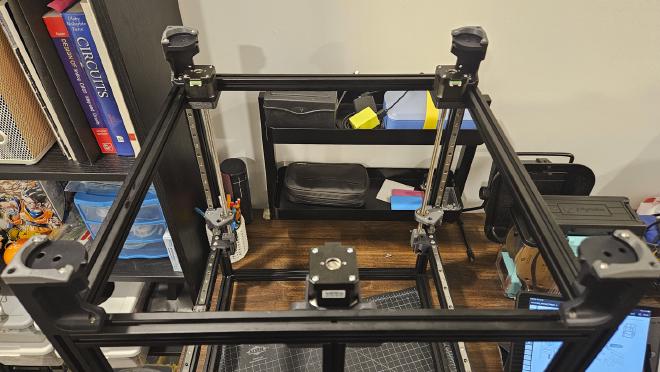
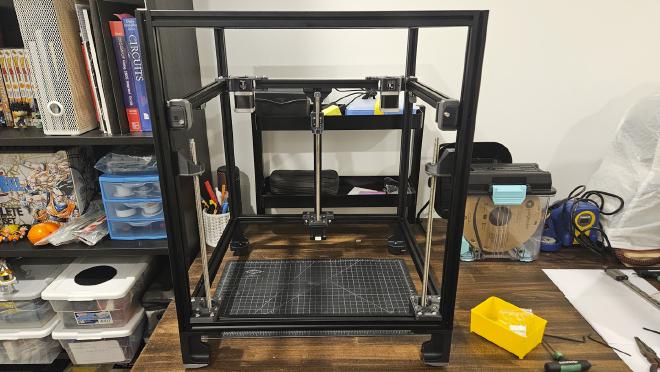
After the Z-motors have been installed, the next step is to install the feet on the printer since the motors sit below the bottom of the frame.
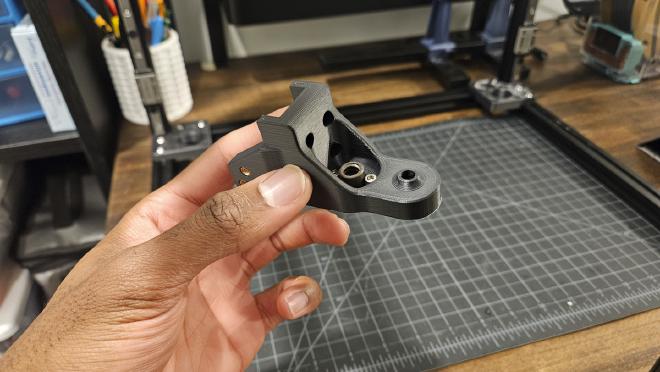
X-Axis Carriage Assembly #
The x-axis carriage is the last step before installing the belts. There are no deviations from the manual here for the Formbot kit, so this part is pretty easy.

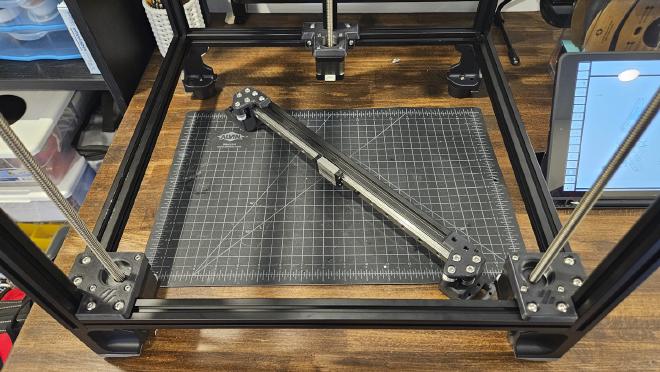
Squaring the gantry can be a bit tedious so take your time and go slow. There’s a video linked in the Trident manual with some tips on how to do it, I’d highly recommend you check it out.
And that wraps up this build log. Next time we’ll be installing the belts for the XY motion and assembling the parts for Voron Tap!