Why build a Voron? #
My first entry into the world the 3D printing was through a $200 kit I purchased from eBay. It was a Folgertech Prusa i3 with an acrylic frame, glass bed, and an Arduino Mega Marlin-based controller.
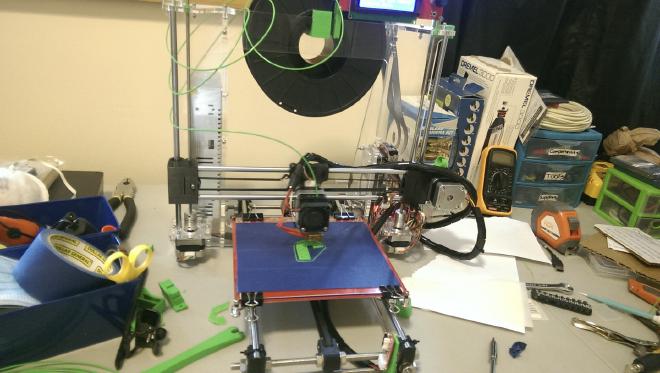
The print quality was mediocre and reliability was even worse. Despite all of that, it taught me a lot about 3D printing and tinkering with it everyday was exciting.
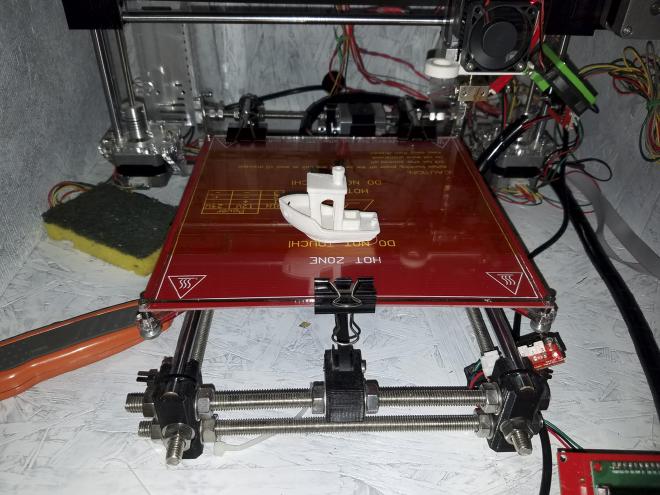
After dealing with that printer for a few years I heard Josef Prusa himself had started a new 3D printing company and decided to pull the trigger on a Prusa i3 MK3S. This printer has been an absolute workhorse, rarely requiring any maintenance.
I’ve used it to print parts for a lot of projects, including most of the projects you see on my YouTube channel . But since this printer is just so reliable, it left a little to be desired because I missed tinkering my printer and upgrading it over time.
Enter the Voron #
That’s when I discovered the Voron family of 3D printers.
What drew me to them was the following excerpt from their website:
We build space shuttles with gardening tools so anyone can have a space shuttle of their own.
After doing lots of research into the different models I could make, I landed on the 300mm Voron Trident for 3 reasons:
- Build Volume: The Voron 0 is a smaller machine with a build volume of 120mm^3. Both the Voron V2 and Trident come in 3 size variations: 250mm, 300mm, and 350mm. Since my MK3S already has a build volume of 250mm x 210mm x 210mm, I knew I wanted something that was a bit larger than that.
- Simpler Build: Compared to the V2, the Trident has a simpler build which meant I would be up and printing much faster.
- Space Constraints: Both the V2 and Trident have comparable print quality. I do want to build a V2 some day but it would probably be a 350mm printer since I think the flying gantry lends itself well to larger sizes. Since I barely have have room in my apartment for a 300mm printer, a 350mm one was out of the question.
Choosing a kit #
When building a Voron you have two options for securing parts: self-source it or buy a kit. While self-sourcing allows for more customizations up-front, it can be a huge hassle to acquire parts from different vendors at an affordable price. Because of this I decided to go with a kit.
There are lots of kits available nowadays, each with their own unique set of modifications to the stock Voron build. LDO and Formbot are two of the top contenders from what I could tell, with LDO being a more refined and documented experience.
I ended up going with the Formbot Voron Trident R1 Pro 300mm kit with the standard V6 hotend. It comes with a few mods I was already considering for my printer and was reasonably priced. While it does lack some of the bells and whistles included with an LDO kit, my prior experience tinkering with my old i3 and the large online community were more than enough to convince me to try out the Formbot kit. I purchased the kit here, directly from the Formbot website.
In addition to the printer hardware, the Trident also has a large list of printed parts that are needed for the build. While I certainly could have purchased printed parts directly from Formbot or through the Voron PIF program, I opted to print them myself.
Tuning the Prusa MK3S for ASA #
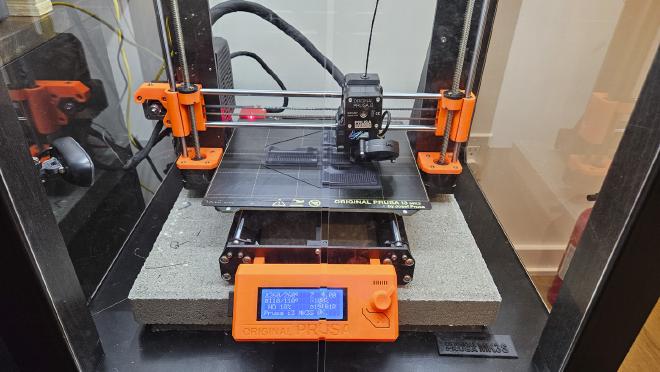
I’ve never bothered to print anything other than PLA or PETG on my MK3S. Even though ABS was better for functional components, I didn’t like printing it because of the toxic fumes and at the time I was printing in my bedroom with little ventilation.
My MK3S is already in an IKEA Lack Enclosure so reaching the right chamber temps wasn’t a huge issue. I did have a lot of troubling with cooling and bridging though, it took a few test prints to dial the settings in. For tuning ABS/ASA I recommend using the Voron test prints that are available in the V2 GitHub repo.

There are a lot of tolerances to get right and the test prints help you dial things in. You mainly want to make sure that the press fit bearing fits in the Voron test cube and all of the threaded parts thread together nicely without too much resistance. Print quality with the MK3S is already fantastic so there wasn’t much else I had to tune here.

I decided to use ASA, specifically Polymaker Polylite ASA, instead of ABS since it supposedly emits way less fumes than traditional ABS. During my prints, I did notice it was a lot less smellier than my previous attempts to print ABS but that also could be because of the lack enclosure.
The Voron design websites lists the recommended print settings for the parts, but for those that are interested, here were my exact print settings for most of the parts:
- Nozzle 260°C Bed 105°C first layer, 110°C every other layer
- Layer Height: 0.2mm
- 4 perimeters/walls
- 5 solid top and bottom layers
- Forced 0.4mm extrusion width
- 40% Gyroid infill
- 8mm brim
The brim ended up being optional for most parts. I got some really good bed adhesion on most parts as long as the chamber was up to temp. Some parts were printed without a brim so they’d look an lot cleaner and need less post-processing
I decided to go with Black and Dark Gray as my primary and secondary colors. I was originally going to do Black and White but I’ve heard that White ABS/ASA parts are weaker due to the additives needed to make the filament white. But since I purchased a roll of white ASA before I knew that, I may still use it for some of the non-functional components and go for a tri-color build.
Unboxing the kit #
I ordered the kit from the US warehouse a week before Christmas and received it a couple days before Christmas.
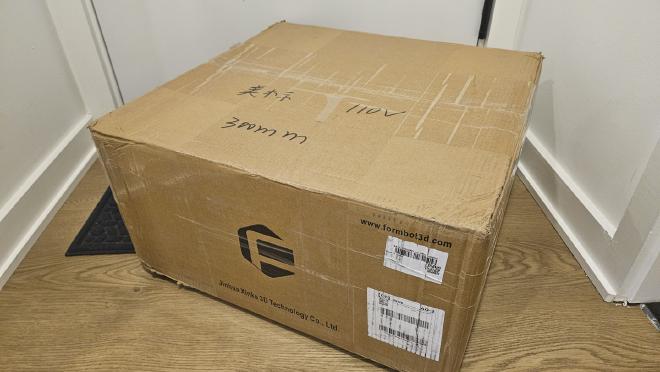
I’ve heard some kit buyers mention missing or defective parts so I printed out the BOM and went through the entire kit to make sure I had everything.
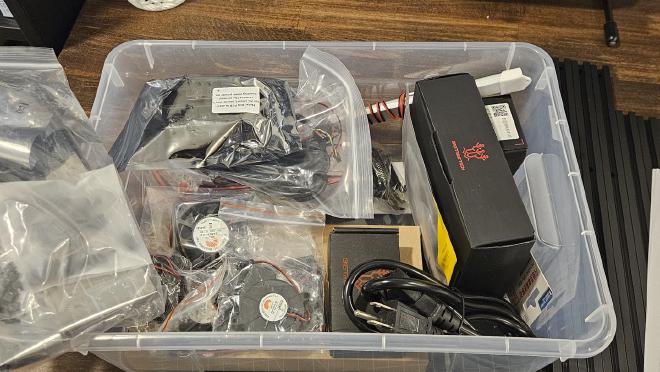
There were also some issues with the roll-in nuts not fitting into the extrusion correctly for some of the earlier kits. That seems to have been resolved with the kit I received and I had no issue inserting them into the extrusions.
The kit contained all of the parts, and at first glance everything seems to be functional and in good condition. Now all that’s left before I begin the build is to finish printing out the necessary functional parts.

Well, that’s all for this part of the build log, stay tuned for part 1 where I actually begin the build and start work on the frame and gantry assembly!

